
Kato accessories are popular in model train setups, providing a large selection of goods that bring realism and functionality to layouts. These accessories, which range from lighting systems to track switches and signals, often rely on their dedicated power sources.
However, there are times when you need to power Kato accessories with an external power supply to improve reliability, ensure longevity, or create a more organized layout. This article will examine the different approaches for power Kato accessories with other power supply sources to guarantee your model railroad equipment’s efficient and reliable functioning.
Why Power Kato Accessories with an External Power Supply?
Before diving into the specifics of how to power Kato accessories with other power supplies, It’s critical to comprehend why people use an external power source in the first place. Kato accessories are typically designed to run off 12V DC (direct current) power, but your layout’s primary power source may not supply enough voltage or current for all your accessories. An external power supply can offer several key benefits, including:
Increased Reliability: A dedicated power supply for accessories guarantees that the proper voltage and current are delivered to them, avoiding potential power dips or overloads that could disrupt operations.
Organized Wiring: Managing multiple accessories from one power supply allows you to keep the wiring of your layout clean and more manageable.
Improved Performance: An external power supply can prevent fluctuations in power that could impact the operation of Kato accessories, ensuring a smoother and more stable experience.
Powering Multiple Accessories: If you have a large layout with numerous accessories, an external power supply can help you run multiple units without overloading the primary power source.
Identifying the Right External Power Supply
When considering how to power Kato accessories with other power supplies, the first step is selecting the appropriate external power supply. Kato accessories are typically designed to operate at 12V DC, but not all 12V power supplies are created equal. Factors like output current, stability, and connector types are all important.
Voltage Requirements
As mentioned, most Kato accessories run on 12V DC power. However, it’s essential to confirm the voltage requirements of your specific accessories by checking the user manual or the product specifications. Using a power source with the incorrect voltage could harm your accessories or prevent them from functioning correctly. If your Kato accessories require a different voltage (e.g., 9V or 16V), choose a power supply that matches these specifications.
Current and Amperage Requirements
The amperage (current) rating is another crucial factor when selecting an external power supply. Kato accessories typically use very little power, but the total power demand increases when running multiple accessories simultaneously. Always check the power consumption for each accessory and ensure the power supply you choose can provide enough current to handle the load.
For instance, if your accessory draws 200mA and you have 10 accessories, you need a power source that can supply at least 2A (200mA x 10). An overloaded power supply may overheat or even damage the power supply and accessories.
Power Supply Stability
Stability is vital when powering sensitive electronics like Kato accessories. A good power supply should provide a steady, noise-free output. Power supplies that deliver unstable voltage can result in flickering lights, erratic operation, or damage to the accessory’s components. Look for a power supply with a low ripple and noise rating, ensuring smooth, uninterrupted power delivery.
Connecting Kato Accessories to an External Power Supply
Once you’ve chosen the correct external power supply for your Kato accessories, it’s time to connect them to the power source. Safety precautions and appropriate wiring are necessary to guarantee everything functions correctly and safely.
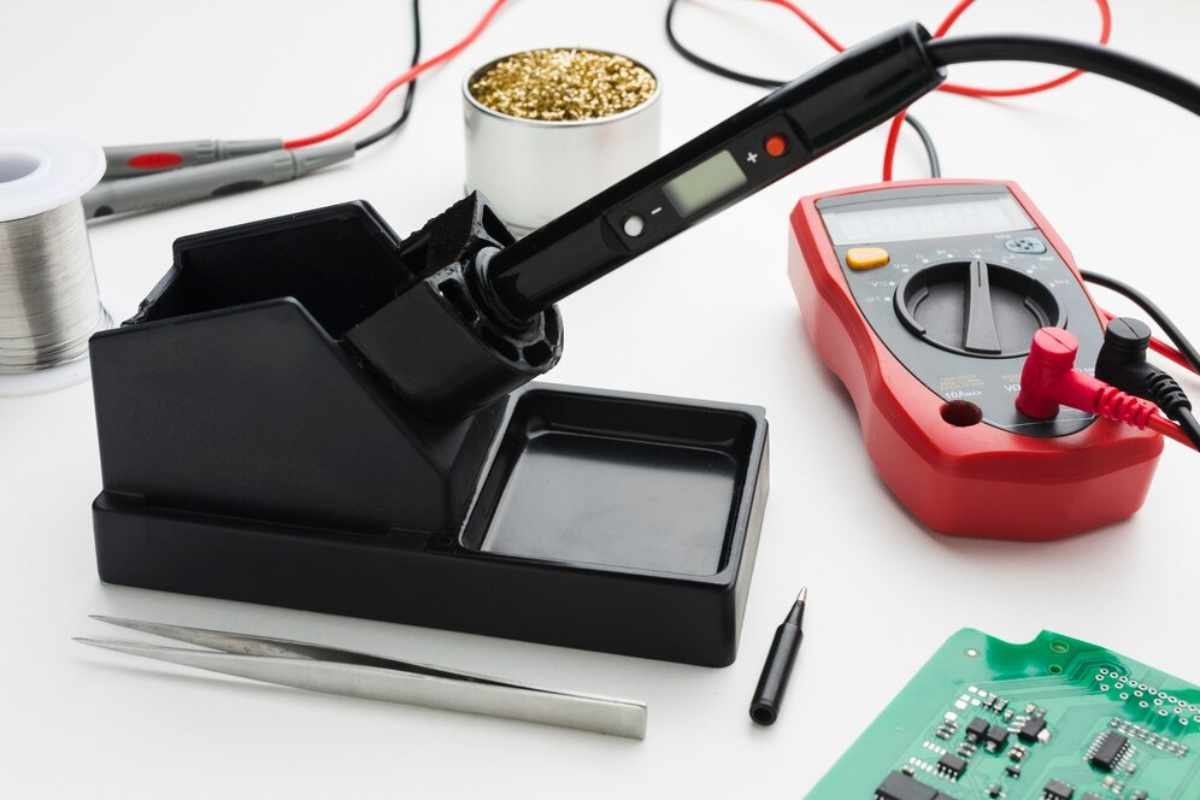
Step 1: Gather the Necessary Components
To begin, gather the following components:
- External power supply with the correct voltage and current output
- Suitable cables to connect your accessories to the power supply
- Connectors or terminal blocks to ensure secure connections
- Multimeter (optional) to test the voltage and current output
Step 2: Prepare the Accessories
Ensure all your Kato accessories are correctly set up and ready for power. Depending on the accessory type, this could involve installing lights, switches, or motors that will receive power. Double-check that all connections on your accessories are clean and in good condition.
Step 3: Wiring the Accessories
Connect the external power supply’s positive (+) and negative (-) terminals to the appropriate terminals on the Kato accessories. Most Kato accessories have clear markings for power input, so ensure that the wiring follows these instructions. Secure each connection to prevent any loose wiring that could cause intermittent issues.
If you’re powering multiple accessories, you can use a terminal block or connector strip to daisy-chain the wiring from one accessory to another. This ensures that each accessory receives a steady power supply without the need for individual connections to the power supply.
Step 4: Test the Setup
Once everything is connected, use a multimeter to check the voltage and current at the accessory’s input terminals. Ensure the voltage is within the range specified for the accessories and that the current is sufficient for the load. This test ensures the power supply functions as expected and provides a stable output.
Step 5: Power Up and Monitor
Turn on the external power supply and check the operation of each accessory. Monitor the performance over time, ensuring that everything operates smoothly. Look for any overheating, flickering lights, or malfunctioning components which could indicate an issue with the power supply or the wiring setup.
Safety Considerations When Powering Kato Accessories
Safety should always be a top priority while setting up how to power Kato accessories with other power supplies. Here are some essential factors to make sure you’re safe operation:
Correct Voltage and Current: Always verify that the voltage and current ratings of the external power supply match the specifications of your Kato accessories. Using an incorrect power supply can damage both the accessories and the power supply.
Overload Protection: Consider using a power supply with built-in overload protection. This feature automatically shuts off the supply if it detects a short circuit or excessive current draw, helping to prevent damage.
Proper Wiring: Use high-quality, properly rated wires for your connections. Poor wiring can cause overheating, short circuits, or even fire hazards.
Check for Heat: Overheating can signal the power supply is overloaded or malfunctioning. Ensure your power supply has adequate ventilation, especially when powering multiple accessories simultaneously.
Troubleshooting Common Issues
When learning how to power Kato accessories with other power supplies, it’s essential to be aware of common issues that might arise. Here are a few troubleshooting tips to help you identify and resolve problems:
- Flickering Lights: If your Kato lights flicker, it could indicate an unstable power supply or poor connections. Check the stability of the power supply and cables and ensure everything is securely connected.
- Accessories Not Turning On: If some accessories don’t work, double-check the wiring and ensure the power supply functions correctly. Verify the voltage output using a multimeter.
- Overheating: If the power supply is overheating, it may not provide enough current for the connected accessories. Consider using a higher-rated power supply or reducing the number of accessories powered by the current one.
- No Power Output: If the power supply shows no output, check for tripped circuit breakers or damaged components in the power supply.
Conclusion
Understanding how to power Kato accessories with other power supply sources can significantly enhance your model train layout. The proper power supply ensures that your accessories function reliably and efficiently, providing a smooth and enjoyable experience.
When setting up your external power source, it’s crucial to carefully choose the correct voltage and current, wire the accessories correctly, and monitor the performance to prevent any potential issues. With the right tools and a little know-how, you can enhance the operation of your Kato accessories and ensure that your model railroad layout runs smoothly for years to come.
Frequently Asked Questions(FAQs):
Why should I use an external power supply for Kato accessories?
An external power supply helps ensure stable voltage, prevent overloads, and maintain organized wiring for your Kato accessories, improving their performance.
What type of power supply do I need for Kato accessories?
Kato accessories typically require 12V DC power. Ensure the power supply can deliver sufficient current for all connected accessories, and check the specifications for each.
Can I power multiple Kato accessories with one external power supply?
Yes, you can use a single power supply to power multiple Kato accessories, provided the current requirement doesn’t exceed the capacity.
How do I connect Kato accessories to an external power supply?
To connect, use the correct voltage and current output from the power supply, then wire the positive and negative terminals to the accessories, ensuring secure connections.
How do I know if the power supply is working correctly?
Test the voltage output with a multimeter to ensure it matches the requirements of your Kato accessories. Monitor the accessories for smooth operation and no flickering.
Is powering Kato accessories with an external power supply safe?
Yes, it is safe to use an external power supply as long as it is correctly rated for the required voltage and current and the wiring is securely connected.
What should I do if my accessories aren’t working after connecting to the power supply?
Check the wiring connections, ensure the power supply is turned on, verify the voltage with a multimeter, and make sure the power supply is not overloaded.


